This simple but effective method of converting your under-stair cupboard into a pantry is a great way to make the most of wasted space. Under-stair cupboards can quite often be awkward spaces where it’s difficult to utilise all the available room for purposeful storage. In this article I’m going to show you how we created a functional pantry in our dysfunctional cupboard. We made the most of the deepest corners and gave the whole cupboard a refreshing makeover to turn this grotty, dark cupboard into a beautiful pantry and storage space.
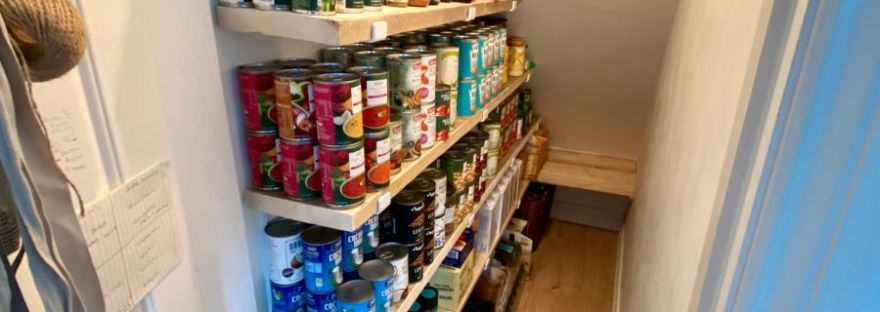
Here are before and after pictures of the under-stair cupboard.


This great storage solution can be created with a few basic tools and a modest budget and it gives you the freedom to be a little creative with your design. I’ve used scaffold boards on my build but you could use a cheaper material like MDF if aesthetics aren’t a priority.
Step-by-Step Guide to Building an Under-Stair Pantry
Step 1. Clearing the cupboard
The first step was to clear everything from the under-stair cupboard and remove all the existing shelving and the horribly stained carpet from the floor.
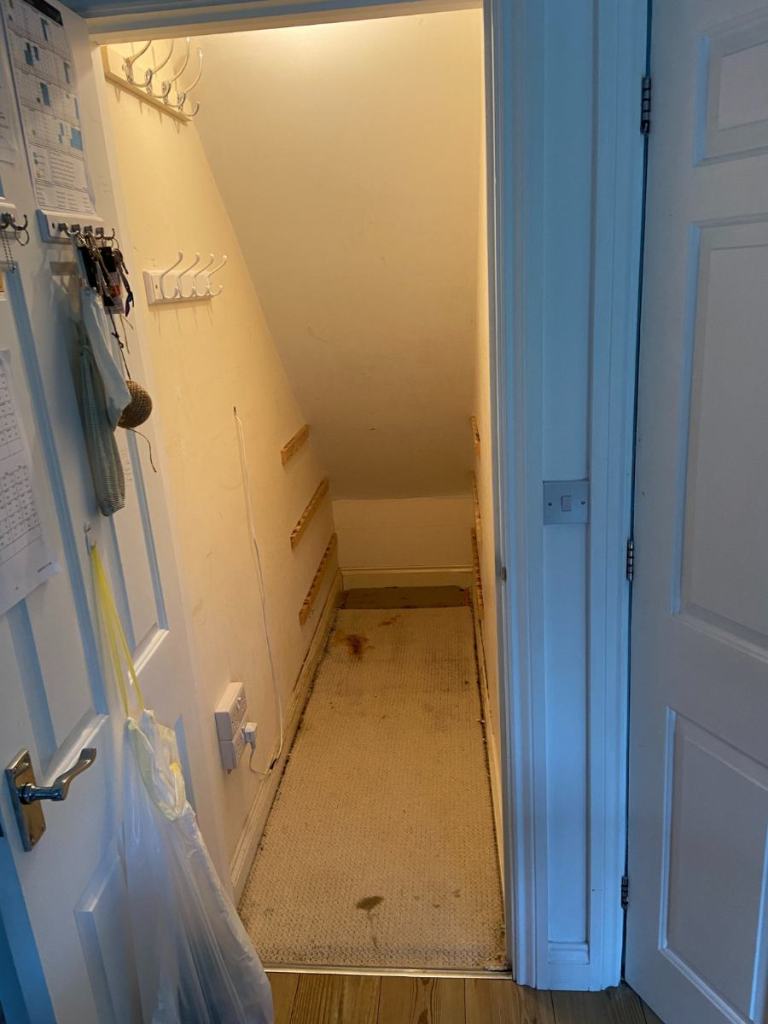
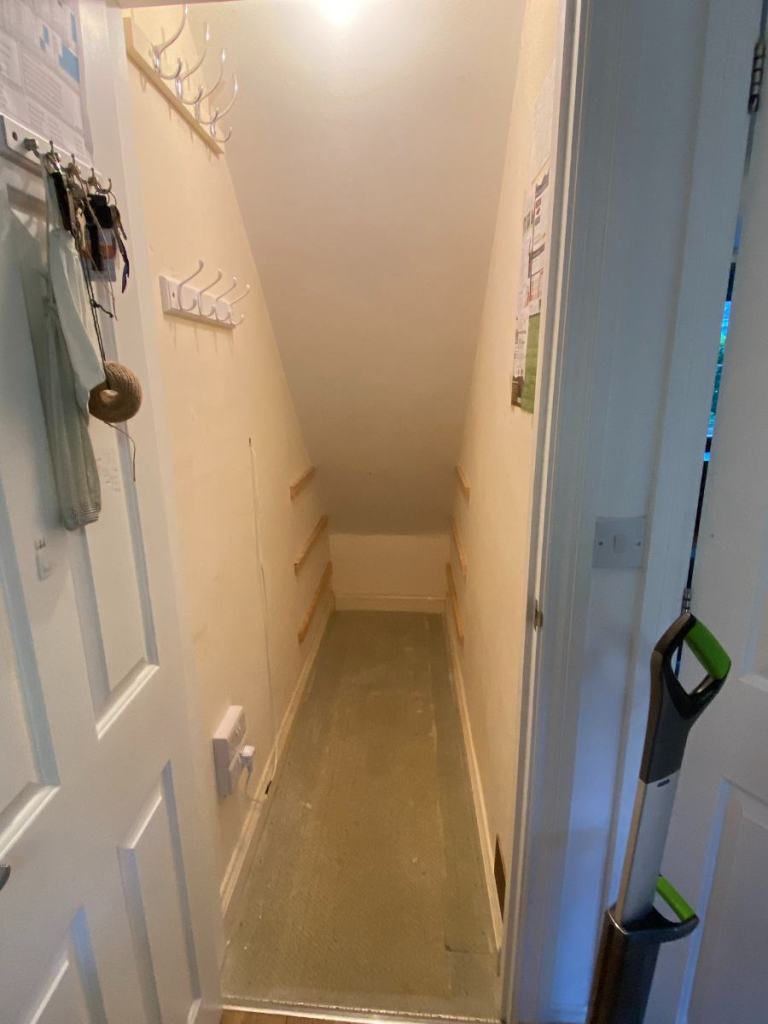
I also removed all the skirting boards and filled any holes in the walls with a Multi-Purpose Ready Mixed Filler.
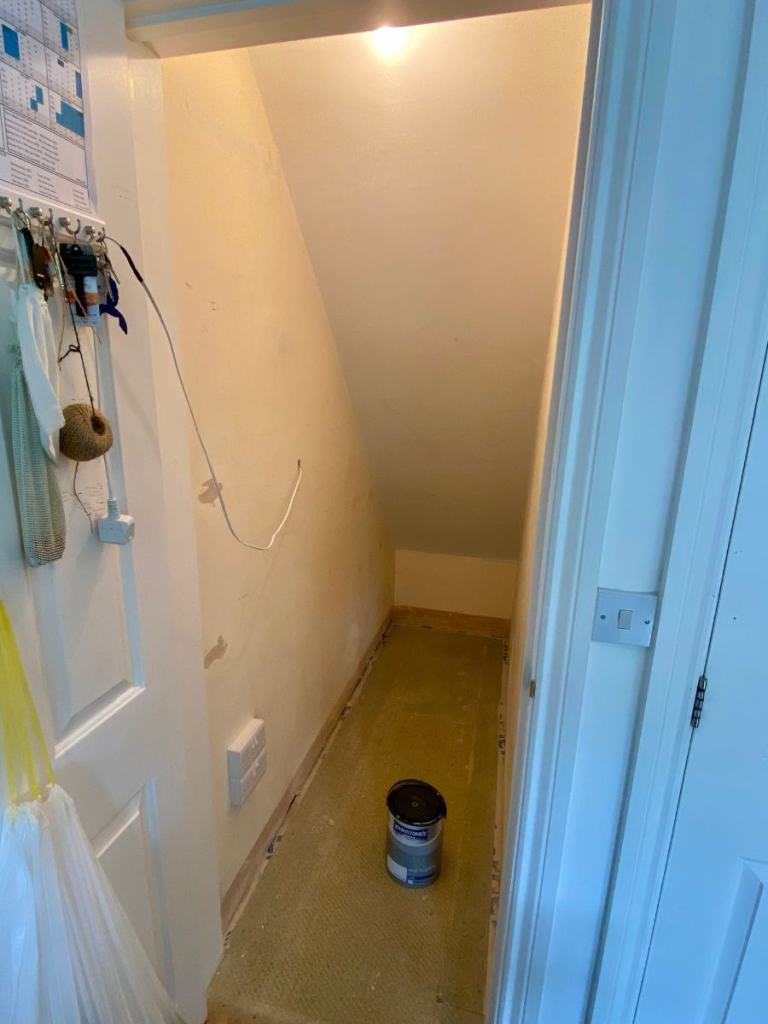
Step 2. Painting and Laminate Flooring
The next stage of this project was to paint the walls white and lay some new laminate flooring. The flooring was laid on a 3mm underlay and I only needed one box of laminate flooring to complete the job.

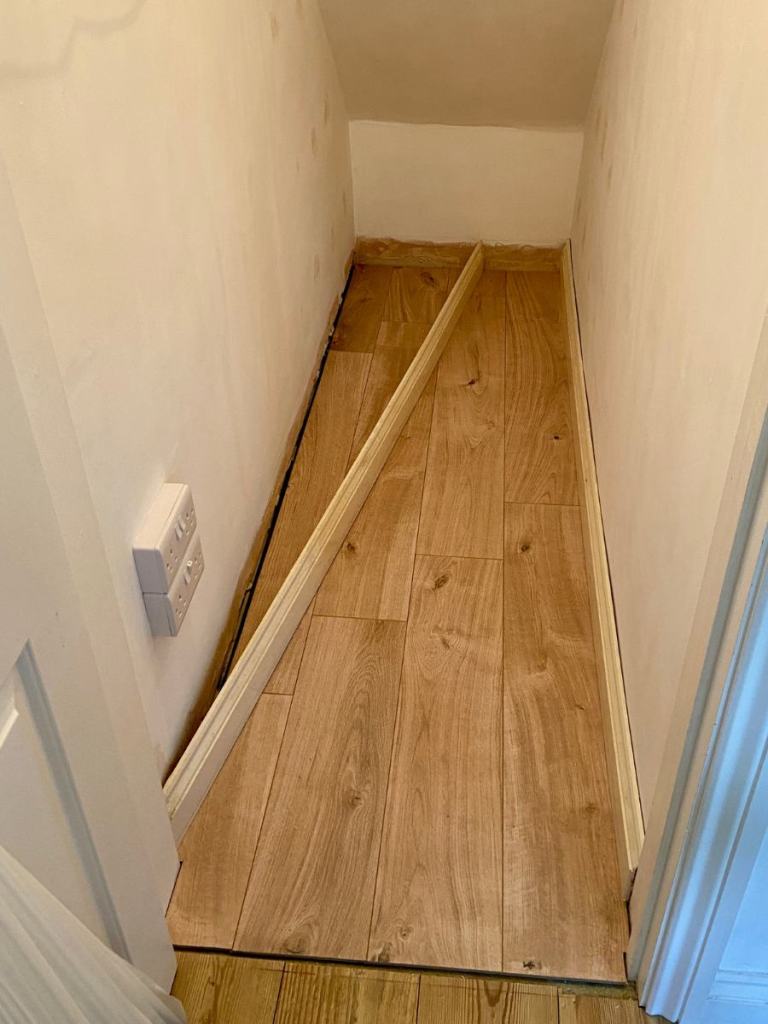

Once the laminate flooring had been laid I replaced all the skirting boards and painted them gloss white.
Step 3. Fitting the Shelves
We planned the shelving based on easy access to the whole length of the cupboard. We also wanted to ensure each shelf could stack three tins in height and three tins in depth. We needed space underneath the bottom shelf for our baskets.
To make use of the very back of the cupboard we wanted a single shelf which was double the depth of the other shelving.
We used scaffold boards for the shelves as we liked the rustic look. To add an industrial theme we used steel shelving brackets designed specifically for scaffold boards. You can find these products here:
The brackets are supplied with screws and wall plugs but I wanted something a bit more substantial due to the weight. I purchased these Cavity Fixing Anchors for extra strength when fitting the brackets.
Step 3.1 – Fixing the Brackets
- Measure the length of the shelf and divide it into four equal partitions for each bracket.
- Then measure the distance from the floor for each bracket and mark on the wall with a pencil.
- Hold the bracket in place and mark out the two hole locations.
- Drill a pilot hole for each.
- Using a masonry bill, drill a hole about 50mm into the wall. Select the hammer action on your drill when drilling into brick or stone etc.
- Insert the cavity fixing and tap it into the wall with a hammer. Just enough until flush.
- Tighten the bolt until the fixing becomes fixed in place.
- Release the bolt from the fixing.
- Secure the bracket to the wall.

Step 3.2 – Preparing the scaffold boards
To prepare the scaffold boards for the bracket I needed to trim them slightly. Hopefully, you won’t need to do this but if you do an electric plane is ideal for this job.

I measured and cut the scaffold boards to length, planed and sanded them until they were nice a smooth. I used a 230mm mitre saw for cutting each board accurately and cleanly.
I didn’t treat the boards with anything but you can stain the boards if you desire a specific colour. As an example, I stained the boards used in my kitchen shelving project as seen here:

Step 3.3 – Securing the Scaffold Boards
With the scaffold boards placed on the brackets and aligned in the centre they can simply be screwed in through the bottom of the bracket.
Step 4. The End Shelf
It’s now possible to repeat this process until all the shelves have been secured to the wall before we fix the end shelf in place.
Due to the rear wall being sloped, it wasn’t possible to use the same style brackets. For the end shelf, I cut two pieces of scaffolding to the correct width of the cupboard and used a piece of timber, secured to the wall on one side to support them.

I also secured a couple of pieces of timber underneath each shelf for a strong finish.
Step 5. Add your Pantry Goods
And for the finishing touches, all you need to do is fill your shelves.

Conclusion
This article has shown how we can maximise the use of our under-stair space. It provides a simple step-by-step guide to turn it into a functional pantry. However, it doesn’t need to be a pantry. It can be a storage space for your hobby items, clothes, or wood store or could be converted into a functional laundry room. Take a look at another example where I have converted this under-stair space into pull-out drawers for shoe storage and other similar items.

